Create scenario for website banner
Creating a new scenario
-
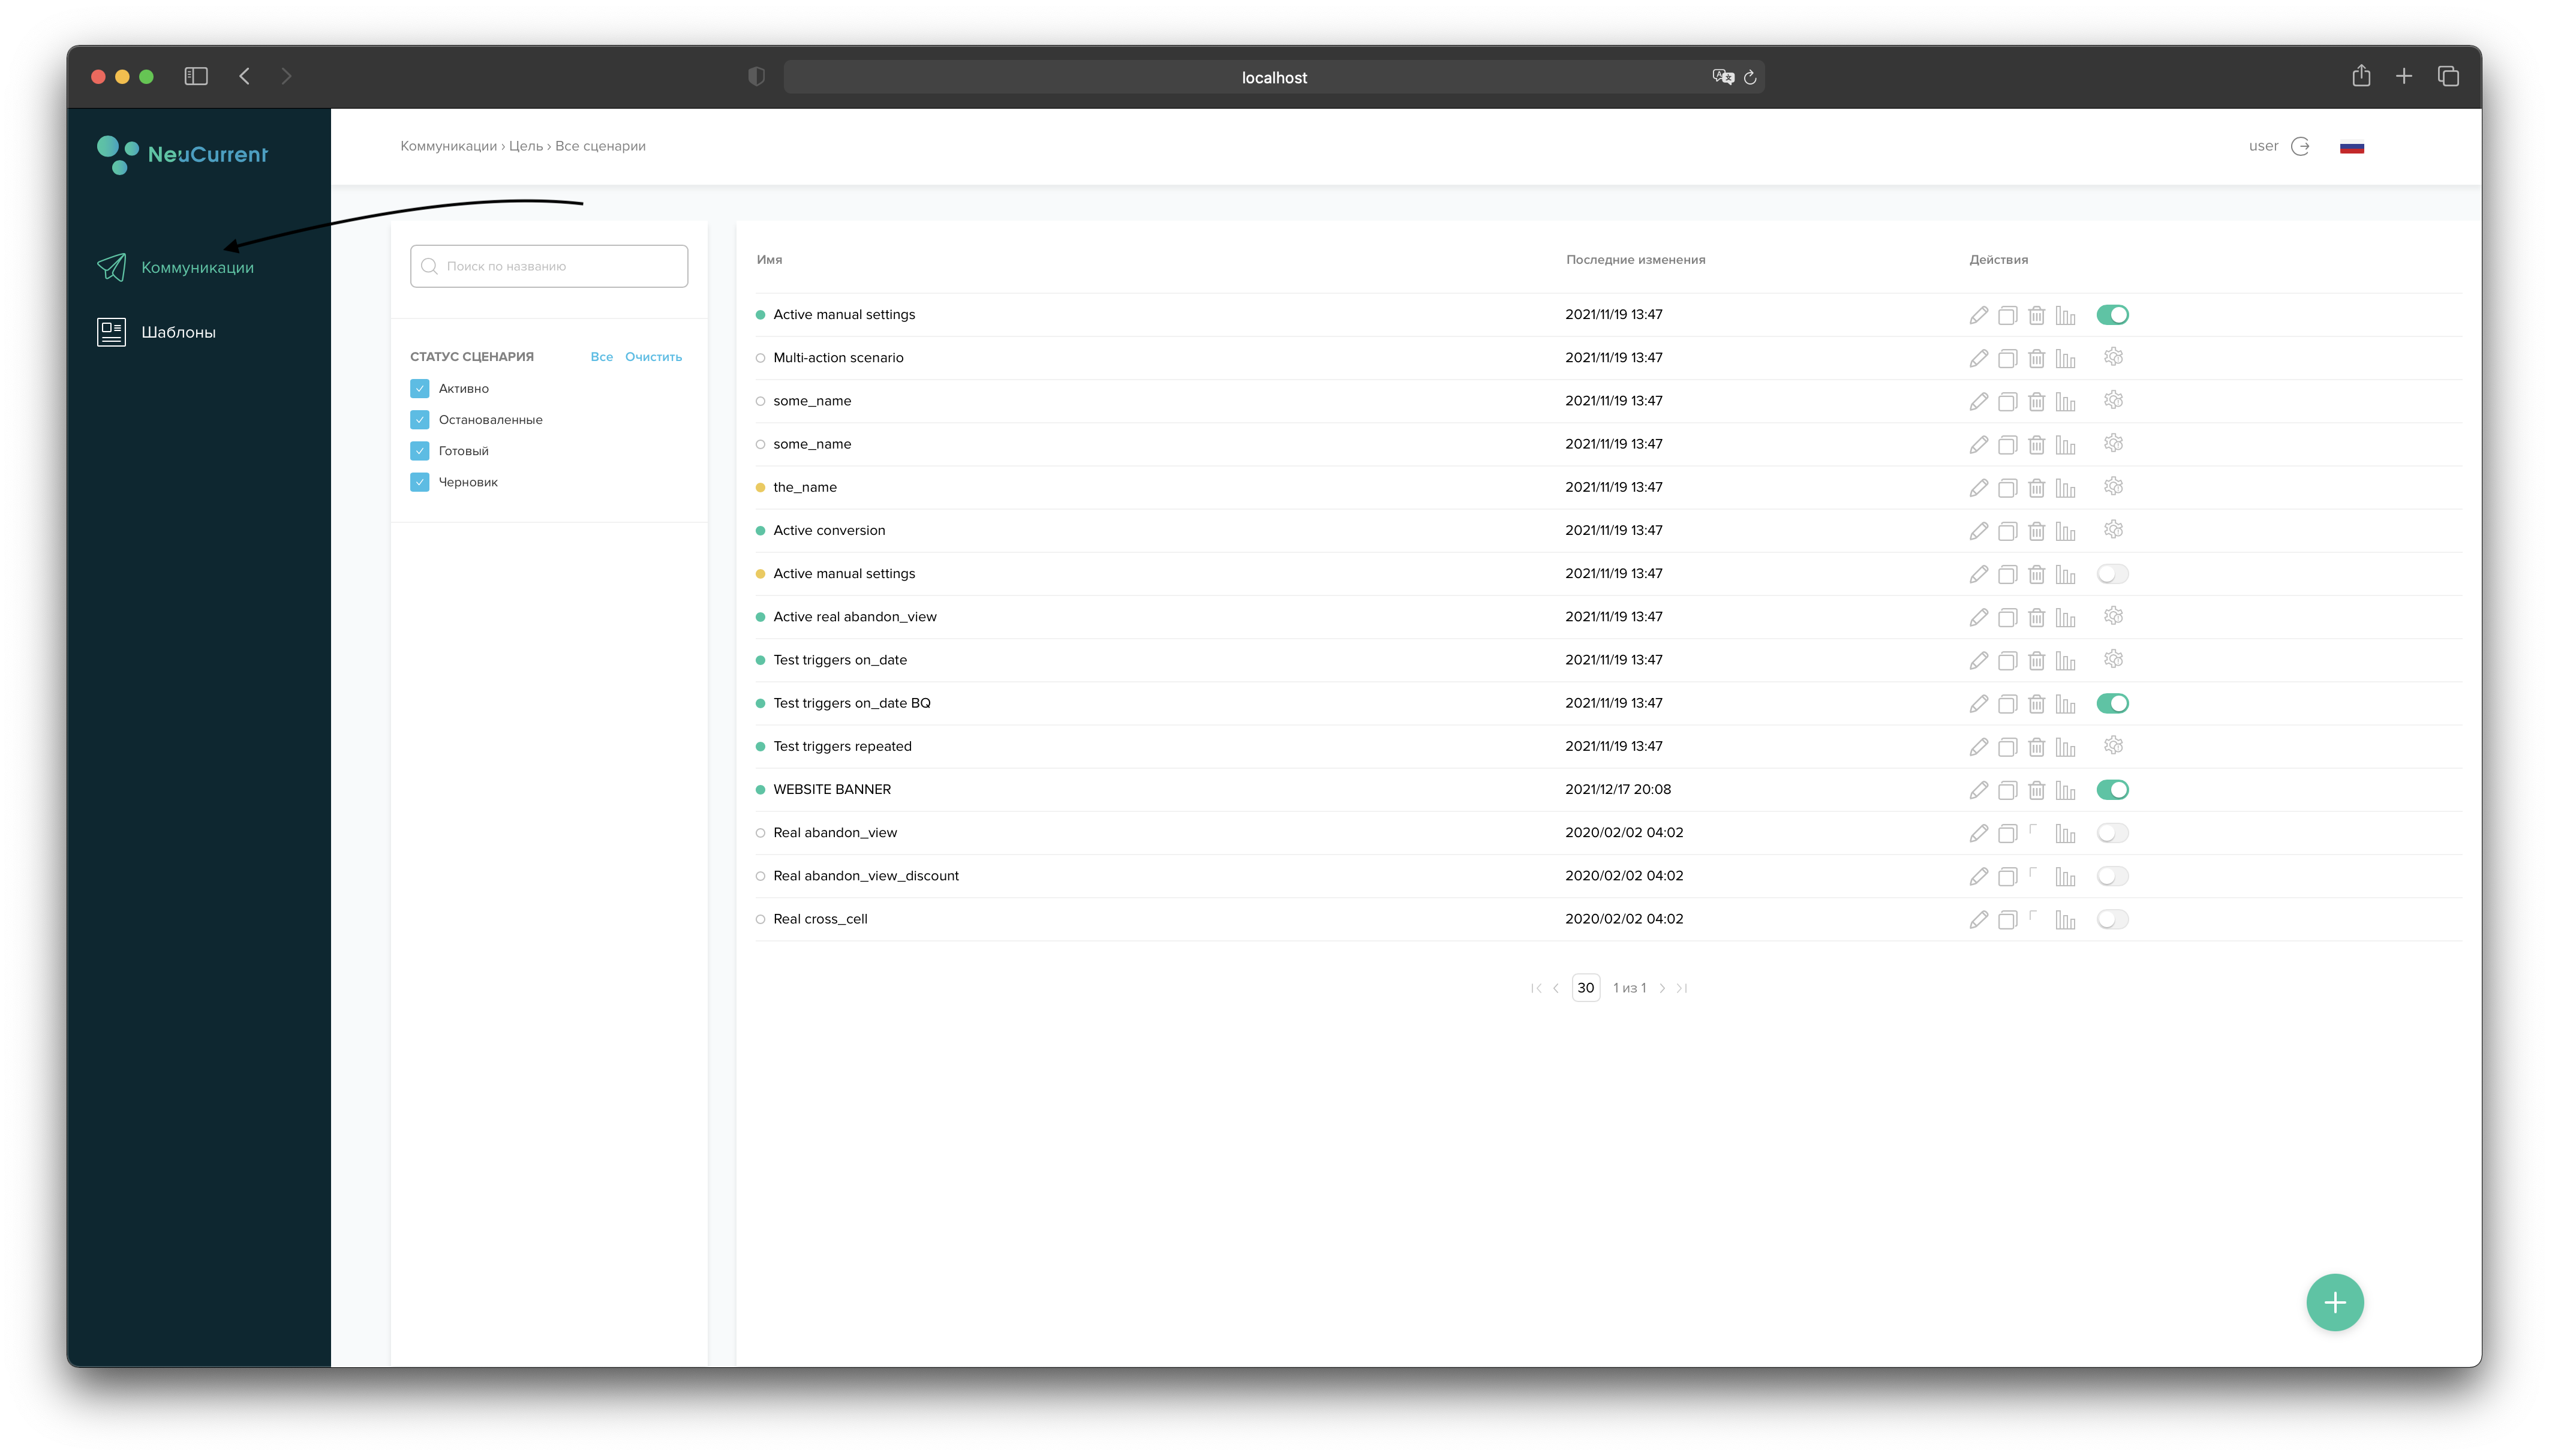
Go to the Communication section using the navigation bar on the left side of our application
-
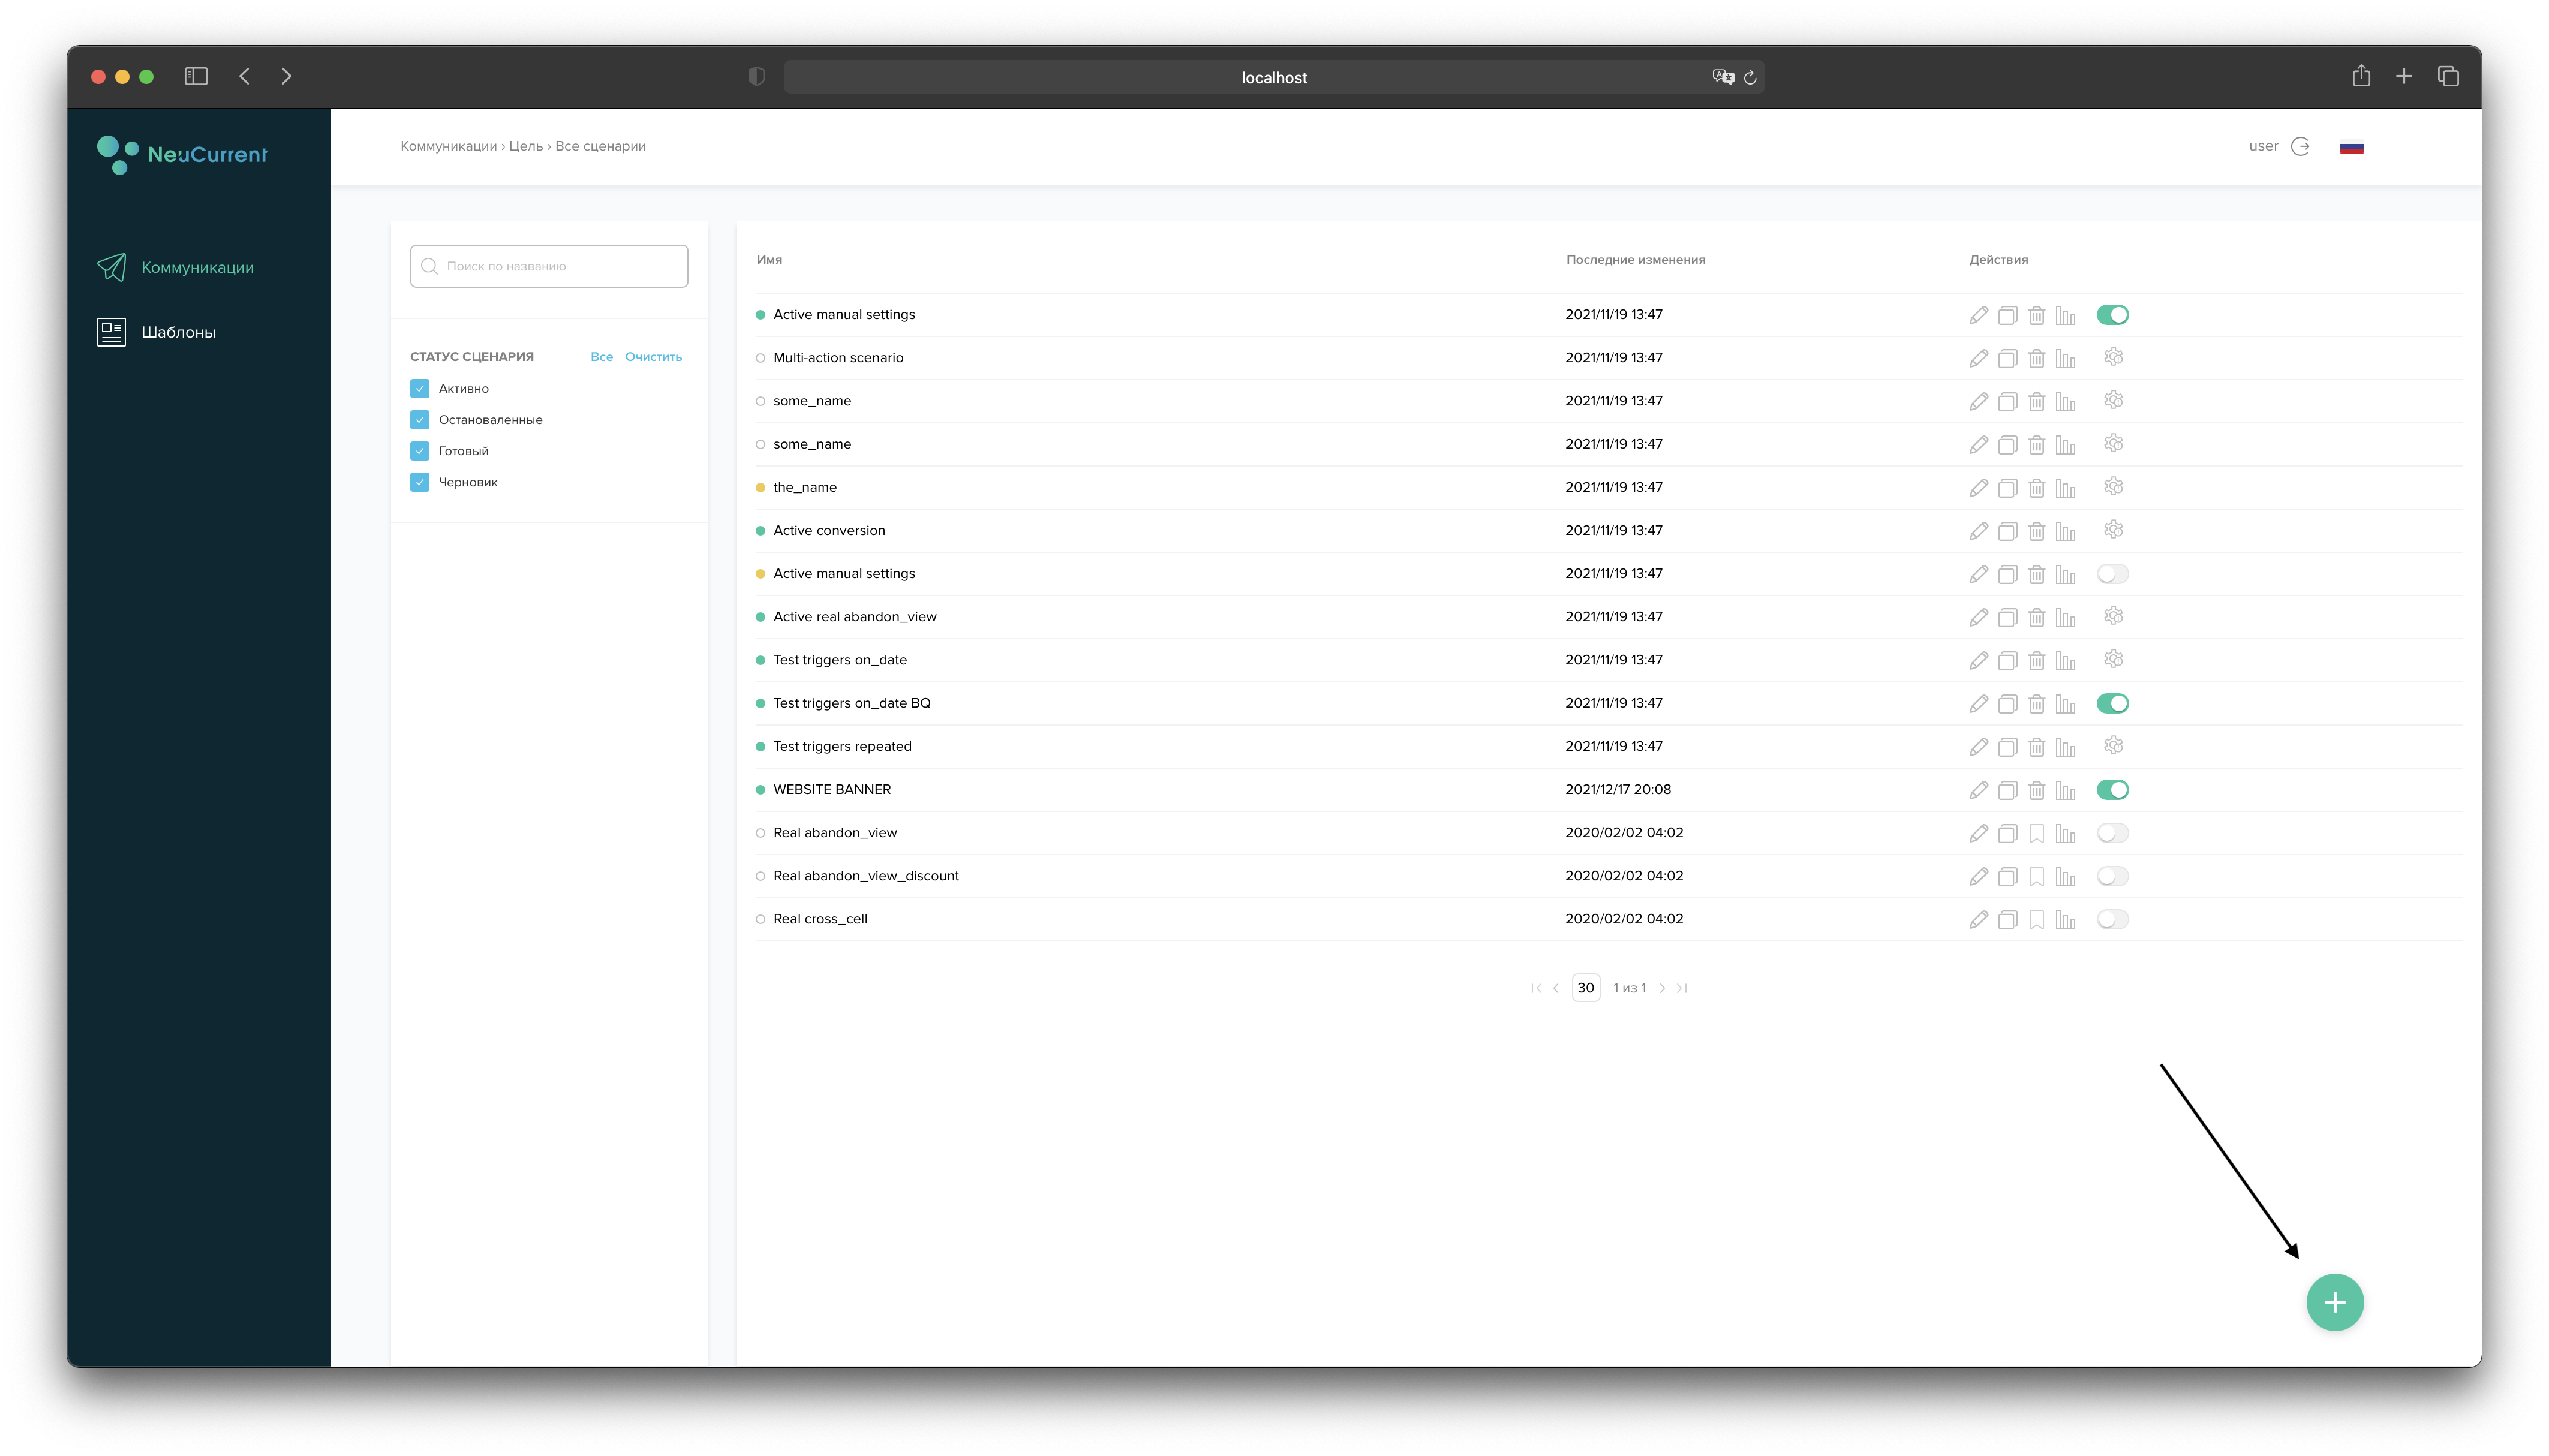
Next, you need to create a new script or use an existing one. In the bottom right corner of the application there is a button with a "+" in the middle. Press it and a new scenario will be created.
-
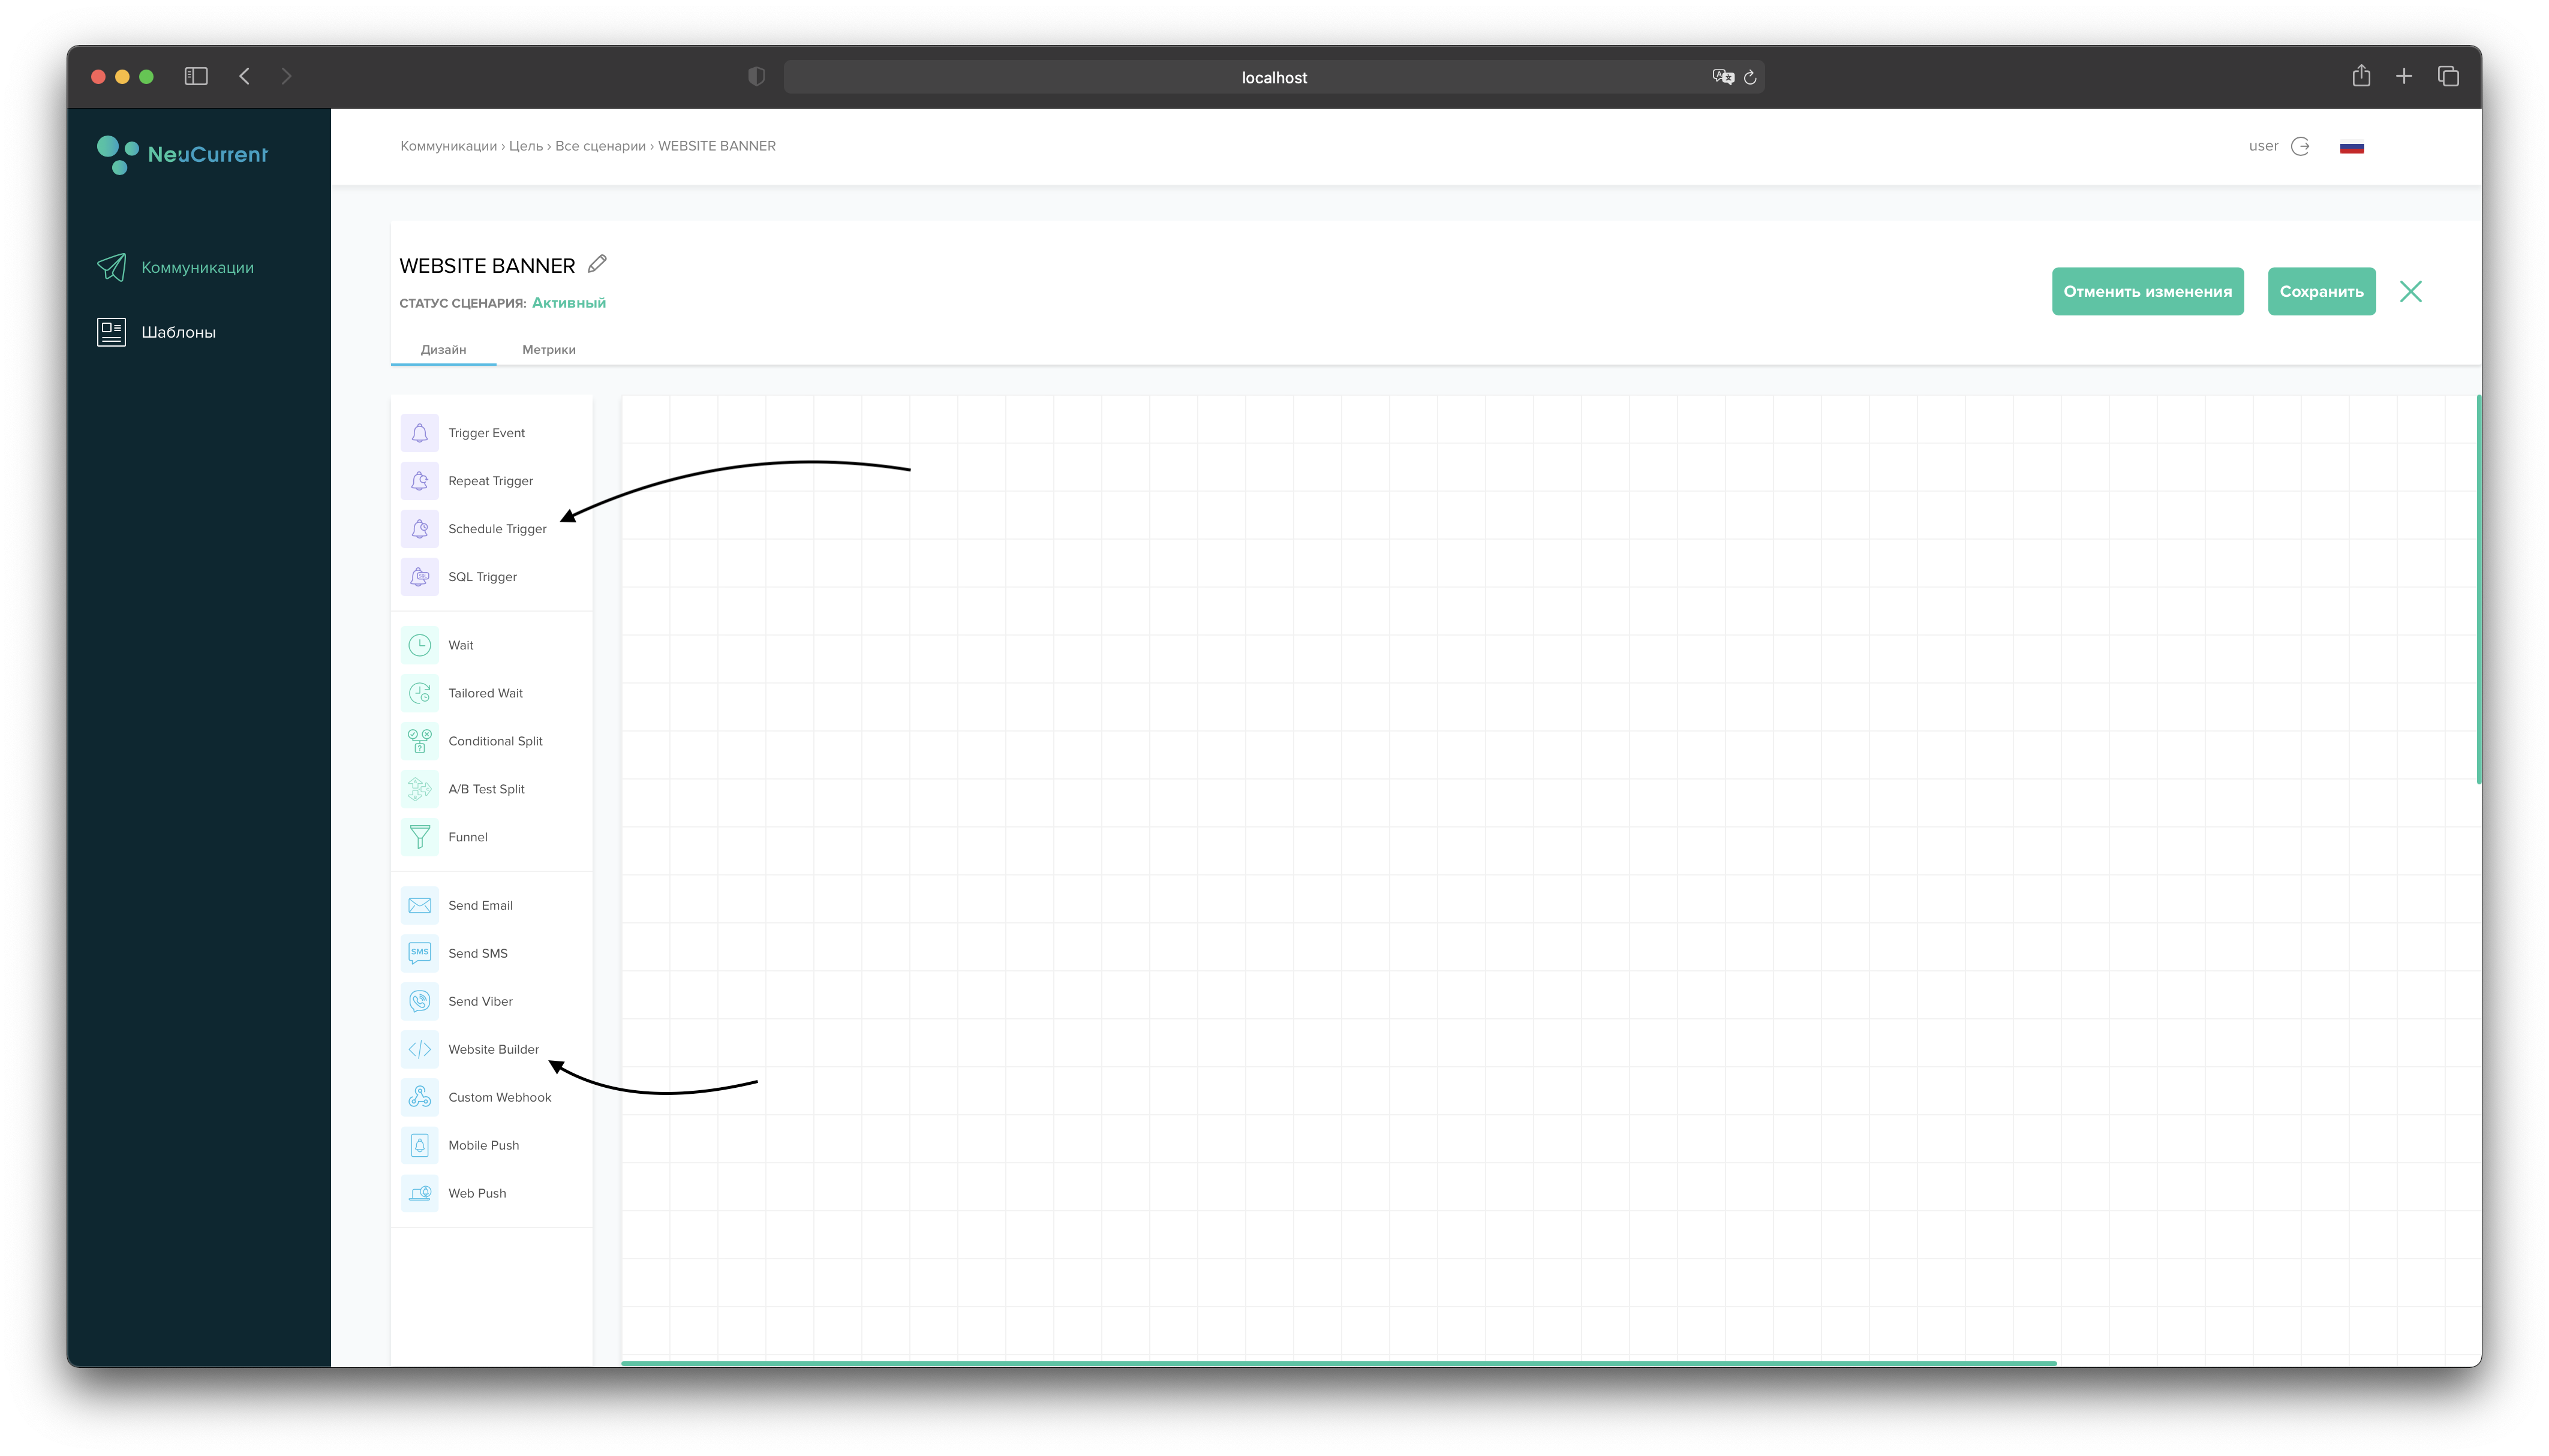
find the following in the list of available Actions: Schedule Trigger, Website Builder
-
Next, you need to transfer the selected Action's to your canvas to customize the scenario and link them together.
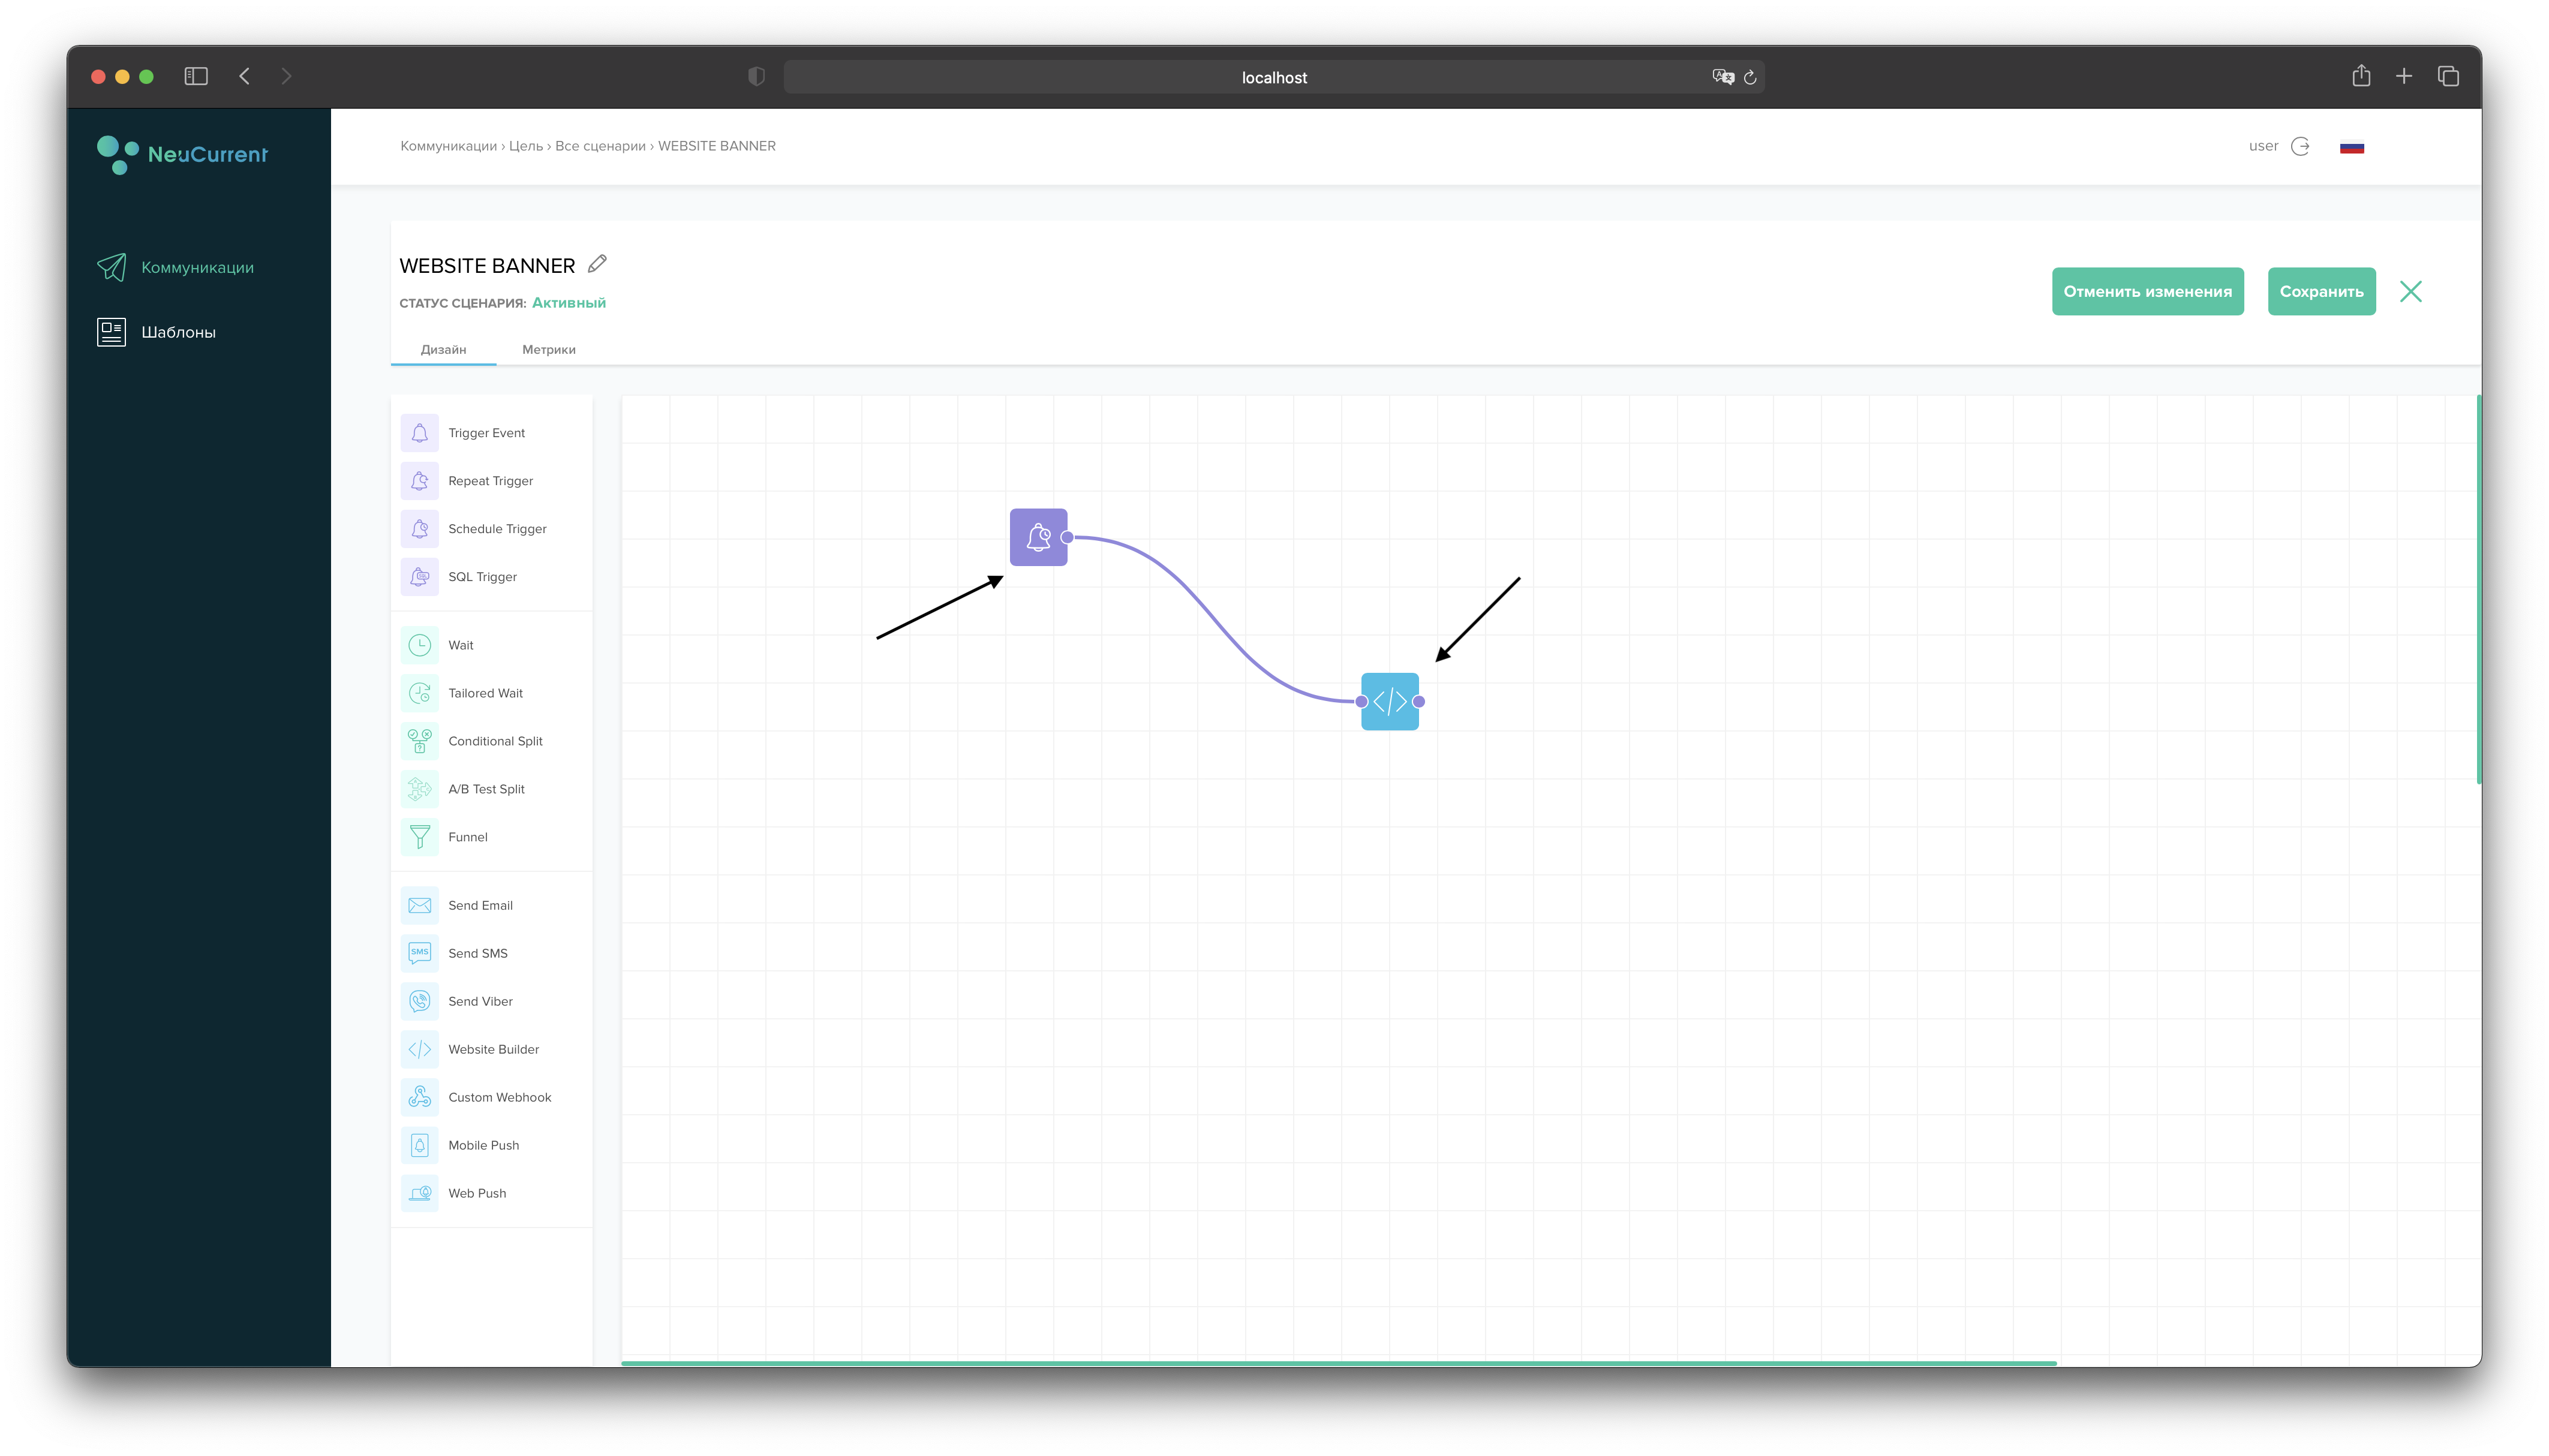
Now you need to set up each of the two Action's.
- Right click on the Action and select "Edit".
- After configuring the Action, click the "Save" button.
For the basic example, we only need two settings: Specific time (on which calendar day the banner will start to show) and Time (local time for the banner to start showing):
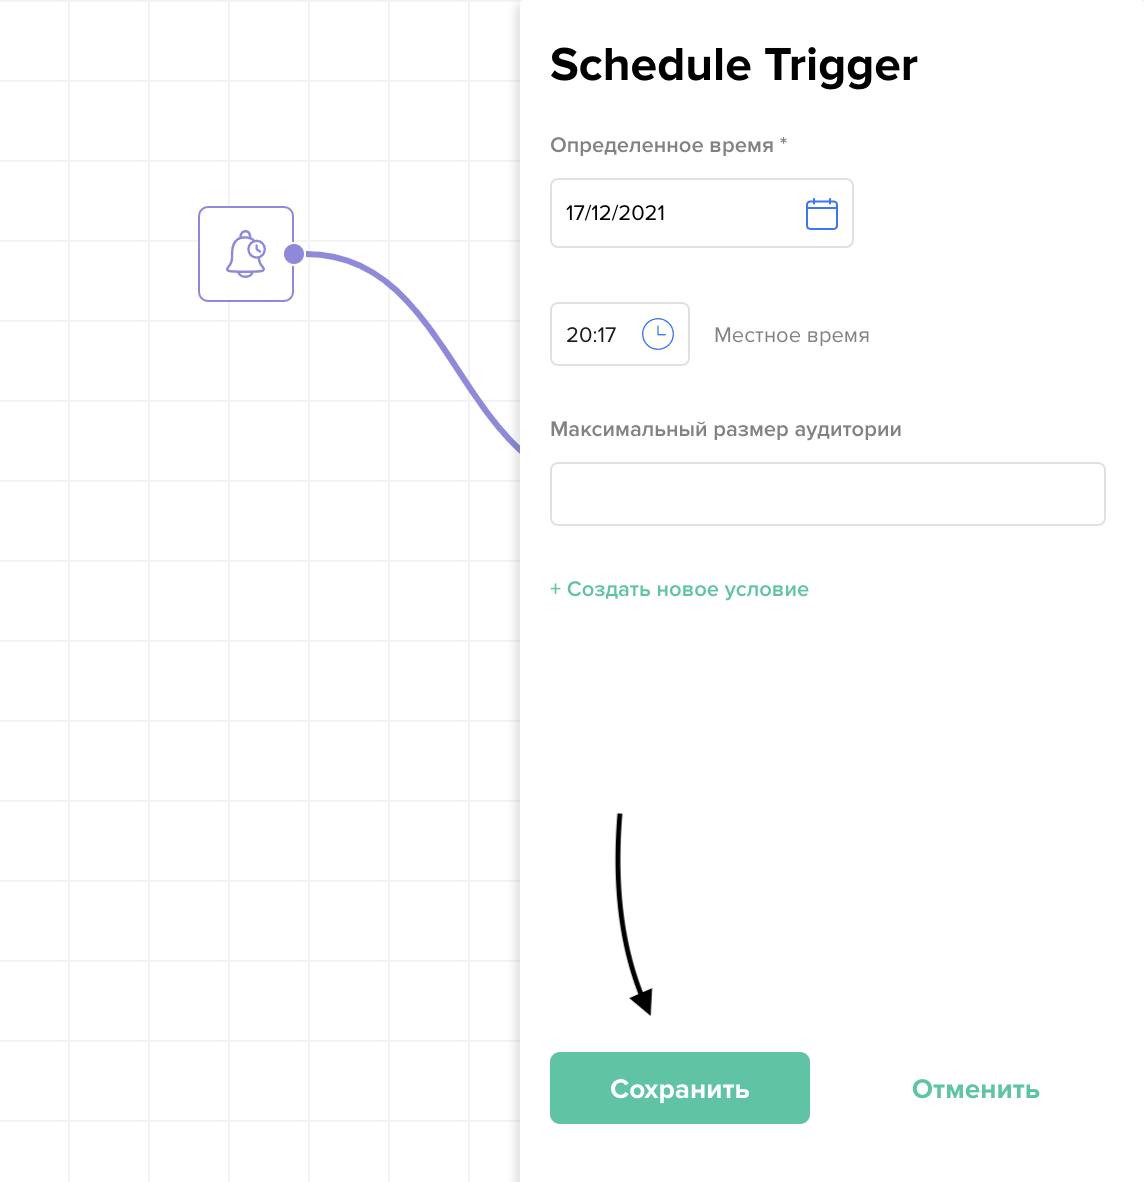
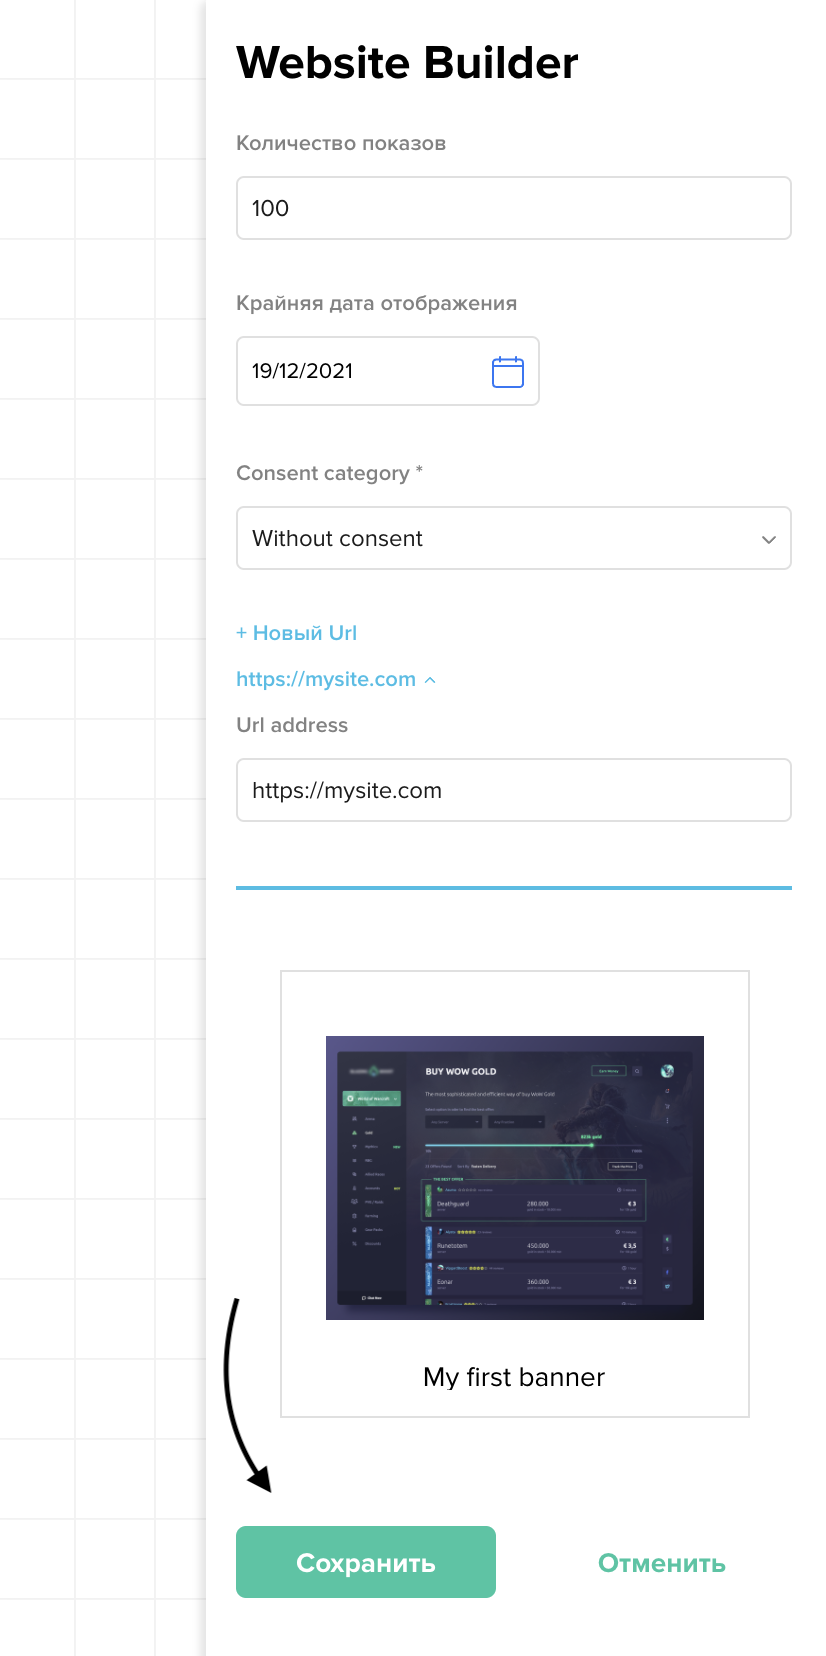
Please note that the date in the "Display Deadline" field should be in the future, it indicates when you want the banner to stop displaying. Click on "New URL" and link directly to the page where your banner will be located:
Warning
Warning! For each individual page, where the banner will be located, you have to create a separate link from the "New URL" drop-down list.
At the bottom of the settings menu, choose an existing banner template or create a new one.
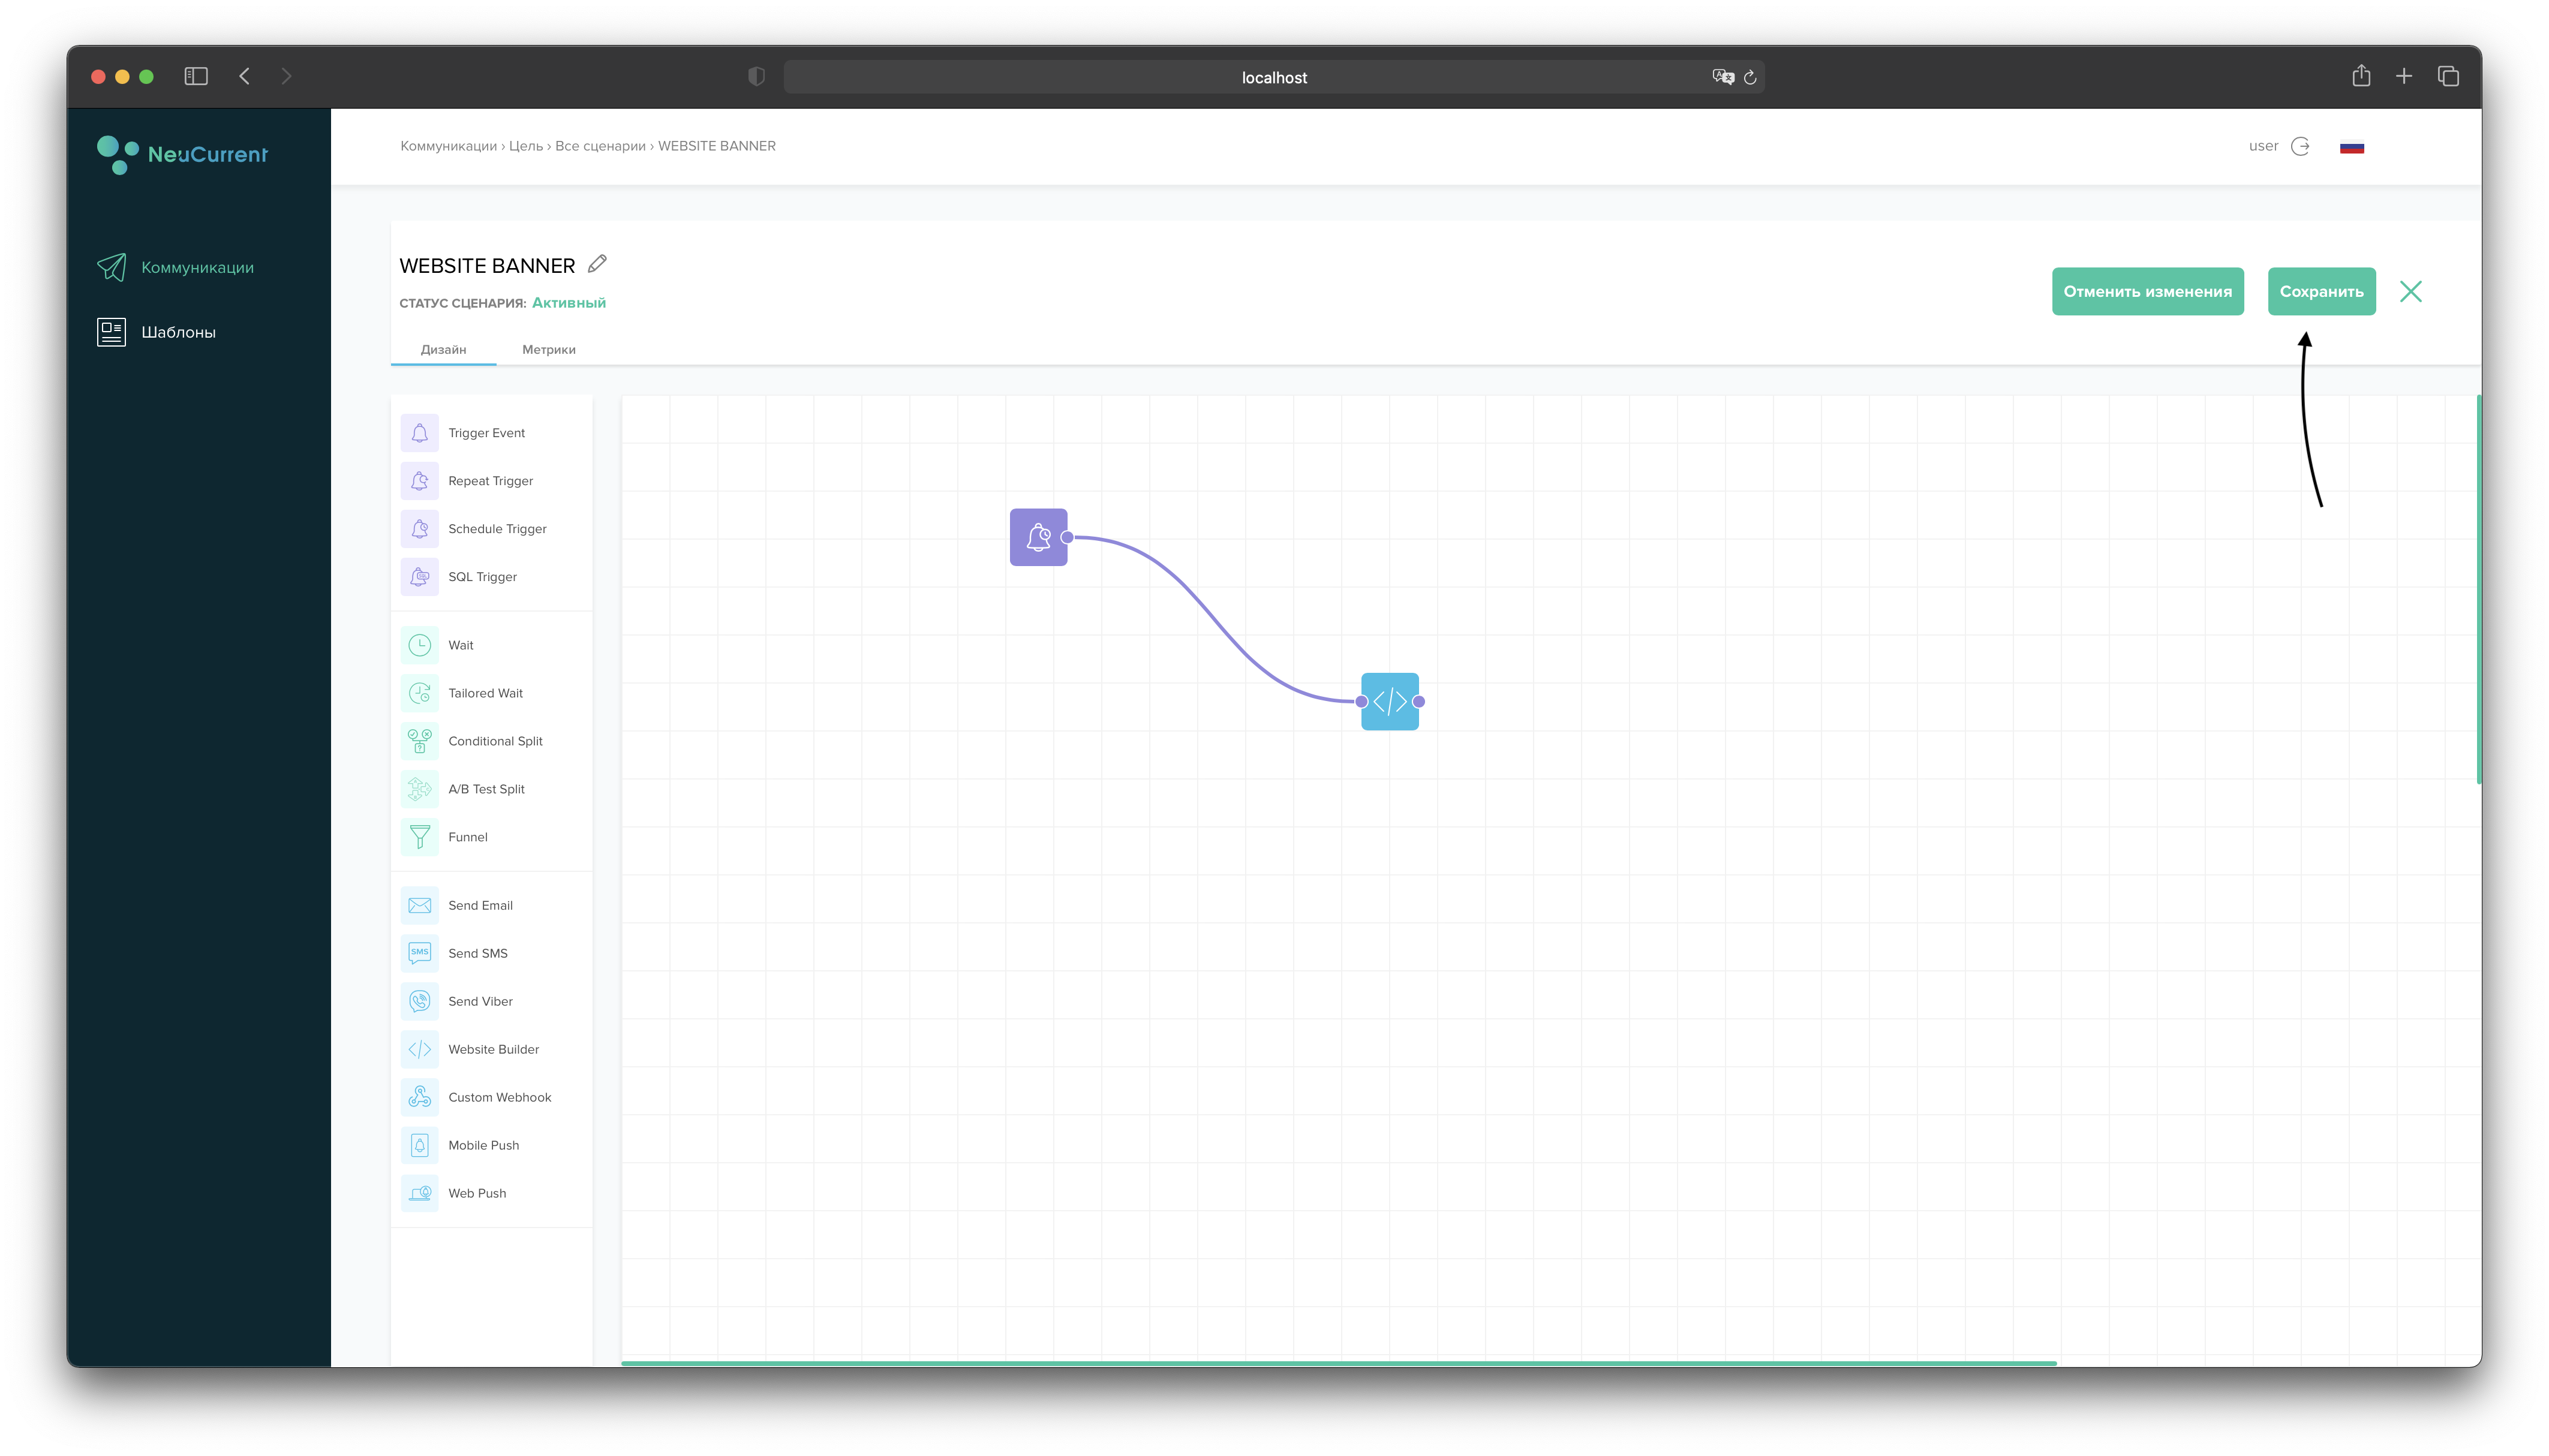
When you have finished your scenario, click save button.
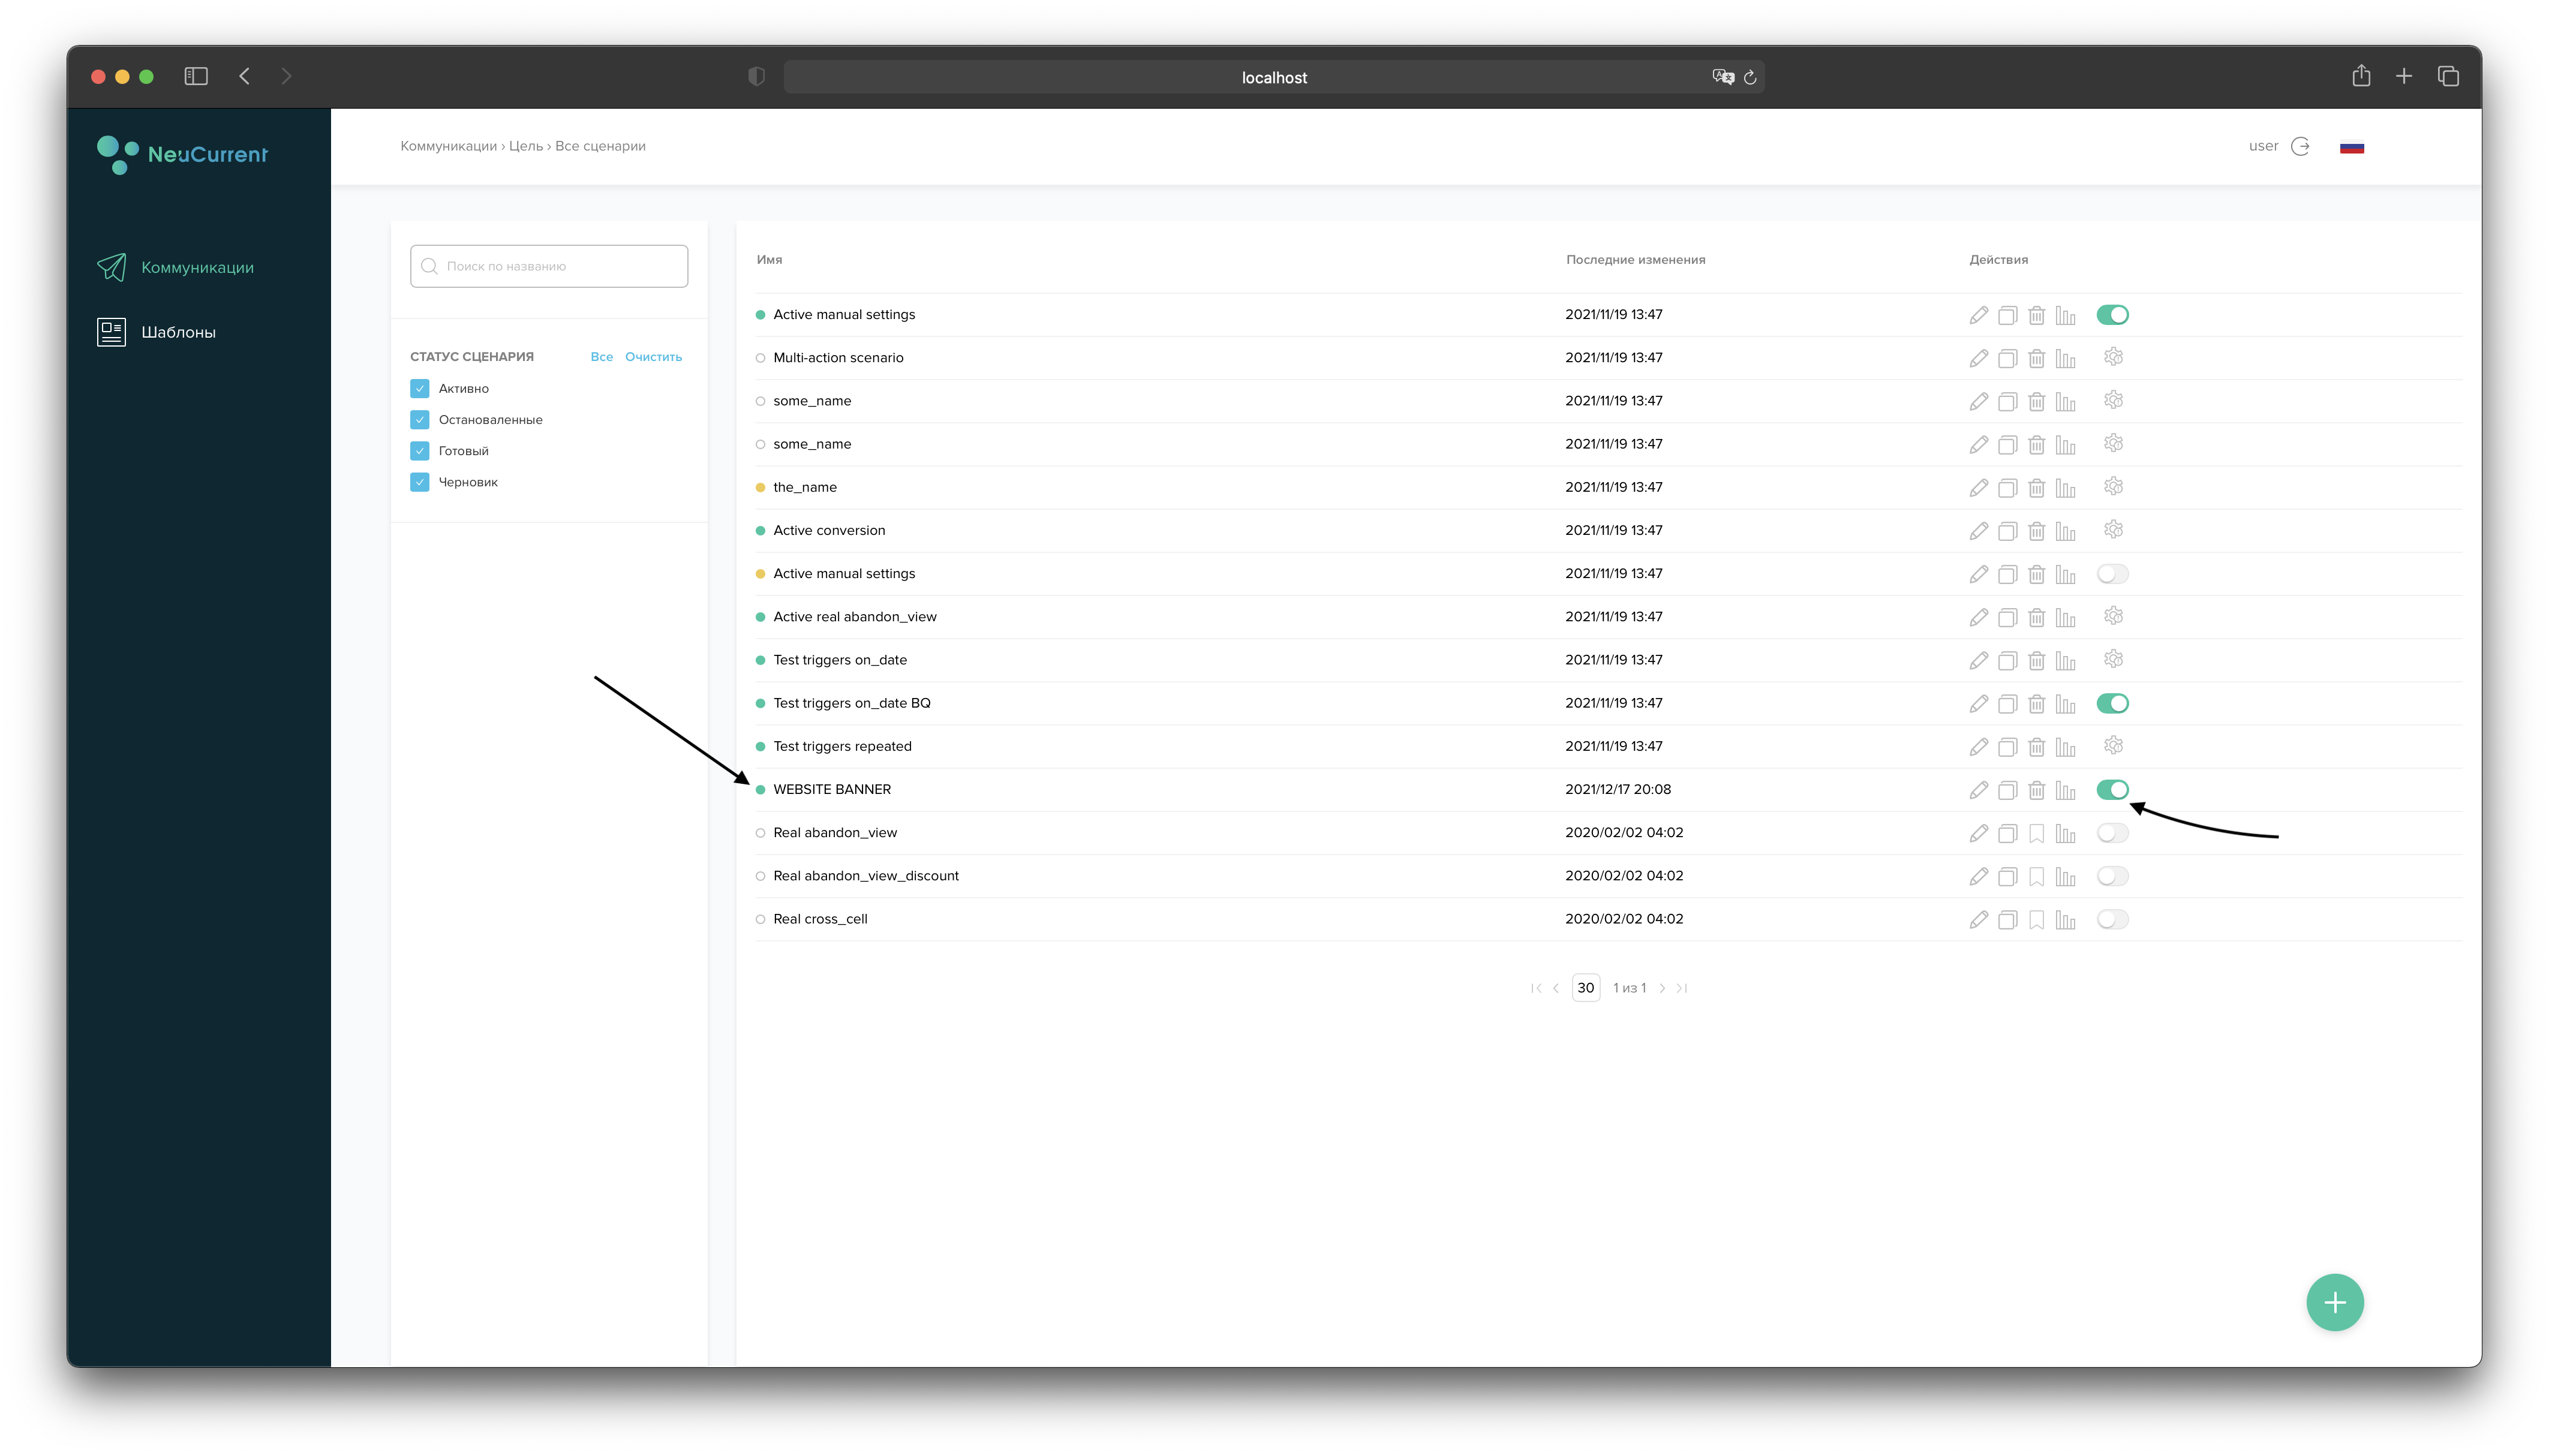
Go to the list of all scenarios and toggle the toggle switch to the "Active" position. Your scenario status should change to "Ready" and the status indicator will change to green.
